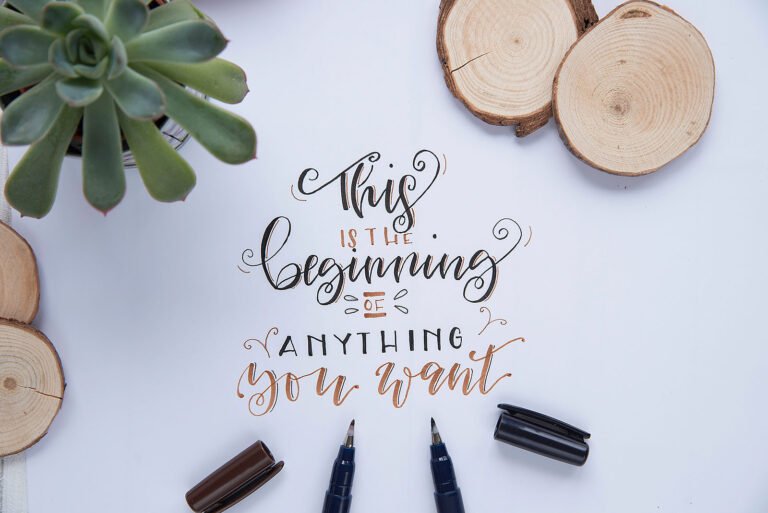
Hand lettering is a beautiful art form that allows you to create stunning and personalized designs using just a pen and paper.
Whether you’re looking to add flair to your bullet journal, create unique greeting cards, or simply explore a new creative outlet, hand lettering is the perfect hobby to pick up.
What is Hand Lettering?
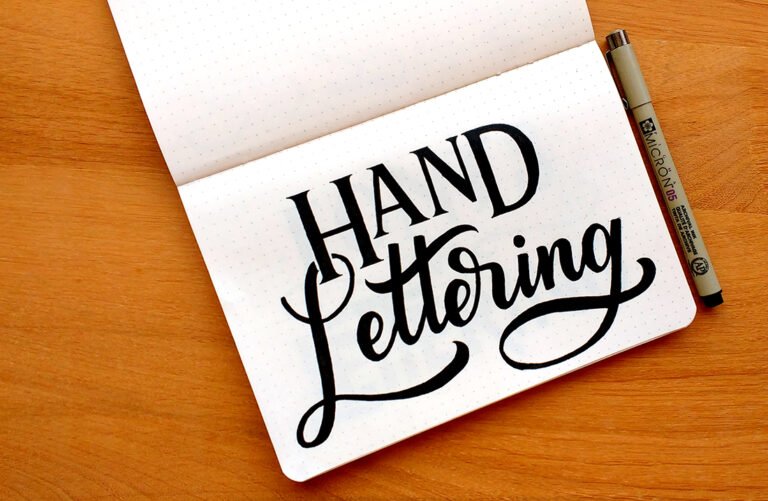
Hand lettering is a form of art where letters and words are drawn or created by hand, often with pens, markers, or brushes. Unlike typography, which involves using pre-designed fonts, hand lettering allows for more creativity and personalization in the design of each letter. Hand lettering can range from simple and elegant to elaborate and decorative, and it is commonly used in graphic design, advertising, signage, and personal expression through artwork and crafts.
This guide is designed to help beginners like you get started on your hand lettering journey, covering everything from basic techniques to helpful tips and tricks.
1. Getting Started:
Materials:
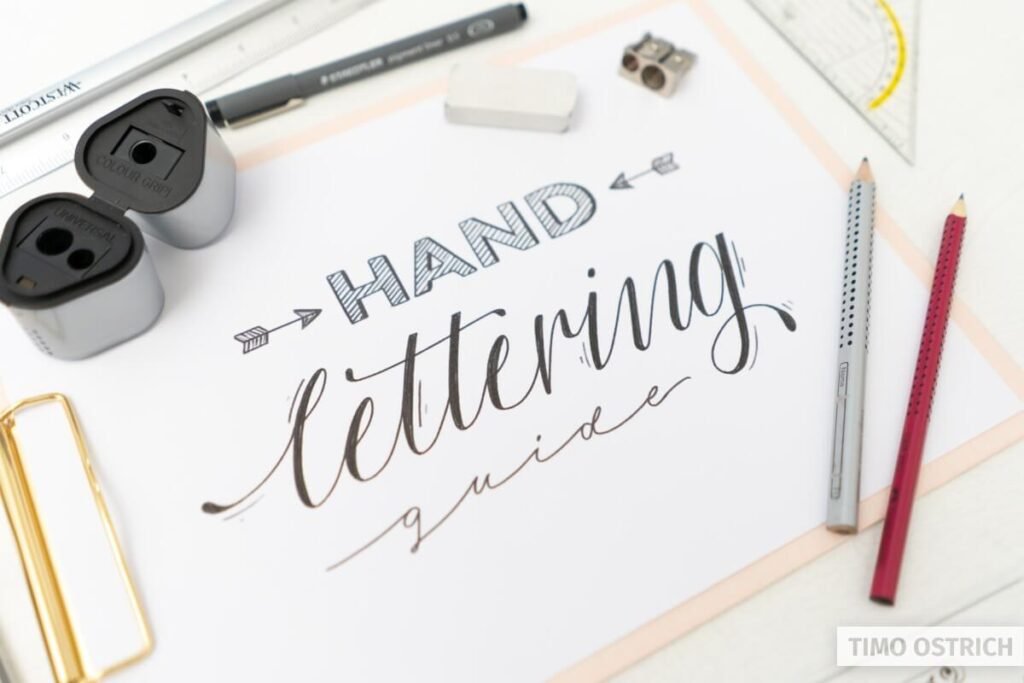
The first step in your hand lettering journey is to gather the necessary materials. Here’s what you’ll need:
- Pens: Invest in a set of quality pens specifically designed for hand lettering.
- Consider using brush pens, calligraphy pens, or fine-tipped markers for a range of expressive strokes and precision in your projects.
- Paper: Choose smooth, high-quality paper that can handle different ink densities without bleeding or feathering.
- Optional Accessories: Consider additional tools like rulers, erasers, and pencil sharpeners to aid in your lettering practice.
Setting Up:
With your materials ready, it’s time to organize your workspace for optimal creativity and efficiency. Here are some tips for creating an optimal environment for hand lettering:
- Lighting: Ensure your workspace is well-lit to reduce eye strain and improve the visibility of your lettering.
- Comfort: Use a comfortable chair and position your work surface at a height that allows for relaxed arm movement.
- Space: Clear clutter from your workspace to provide ample room for your materials and allow for free movement of your hand while lettering.
With your materials gathered and workspace set up, you’re ready to dive into the world of hand lettering. In the next chapter, we’ll explore basic lettering techniques to help you start creating beautiful designs.
2. Basic Lettering Techniques:
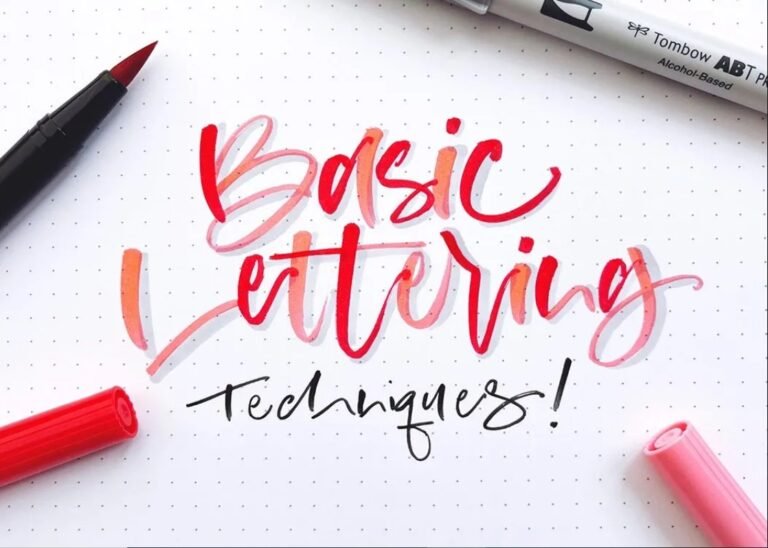
In this chapter, we’ll explore the essential techniques that are the foundation of mastering hand lettering.These techniques will help you develop a solid foundation and enable you to create beautiful lettering designs with confidence.
Line Variations:
Mastering line variations is crucial for adding depth and character to your lettering. Experiment with applying different levels of pressure on your pen to achieve varying line weights. Practice creating thick downstrokes and thin upstrokes to create contrast and visual interest in your letterforms.
Stroke Order:
Understanding the proper stroke order for each letter is essential for achieving fluid and natural-looking letterforms. Start by practicing basic strokes such as straight lines, curves, and loops. Pay attention to the sequence in which these strokes are made, as it can significantly impact the overall appearance of your lettering.
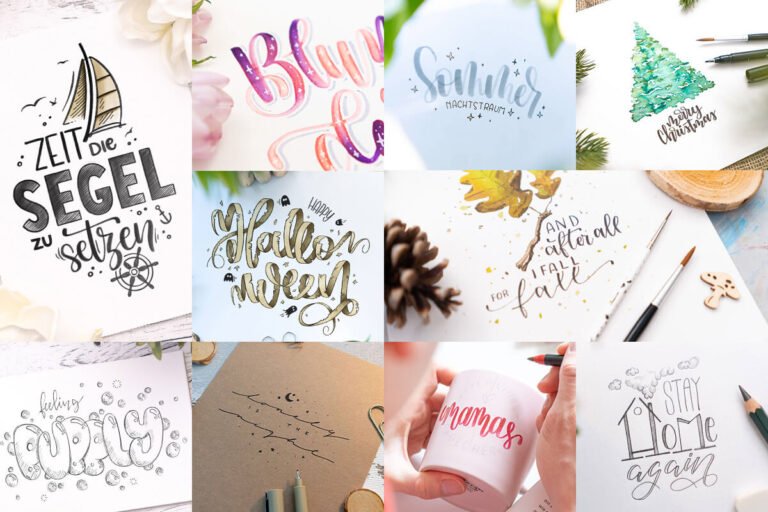
Lettering Styles:
Hand lettering offers a vast array of styles to explore, from elegant scripts to bold sans serifs. Experiment with different styles to find your unique voice as a lettering artist. Study existing fonts for inspiration and adapt them to suit your own aesthetic preferences. Remember, there are no strict rules in hand lettering – feel free to let your creativity shine!
Consistency and Precision:
Consistency is key to achieving professional-looking lettering. Practice forming each letter with uniform size, shape, and spacing. Pay attention to details such as alignment and symmetry to ensure a polished finish. With practice, you’ll develop the muscle memory needed to create consistent letterforms effortlessly.
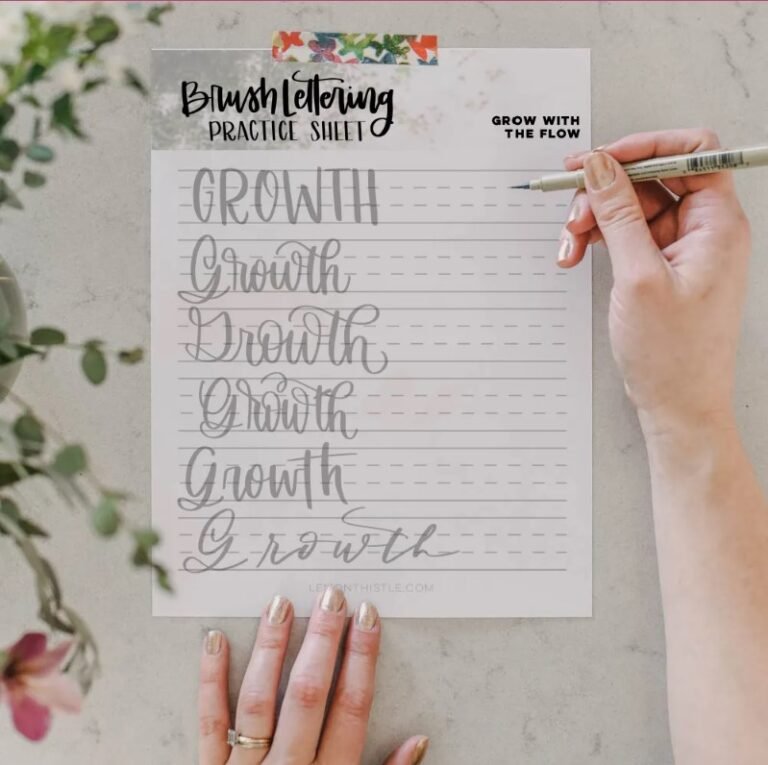
Practice Exercises:
To hone your skills, try the following exercises:
- Alphabet Practice: Write out the alphabet multiple times, focusing on maintaining consistent letterforms.
- Word Composition: Experiment with arranging words and phrases, paying attention to letter spacing and alignment.
- Sentence Structure: Practice writing complete sentences to improve flow and readability in your lettering.
By mastering these basic lettering techniques, you’ll be well on your way to creating stunning hand-lettering designs. Remember to practice regularly and be patient with yourself as you continue to develop your skills. In the next chapter, we’ll explore advanced techniques to take your lettering to the next level.
3: Practicing Letter Forms
In this chapter, we will focus on refining your lettering skills by practicing individual letter forms. Consistency, precision, and attention to detail are key as you work towards mastering the art of hand lettering.
Alphabet Practice:
Begin by dedicating time to practicing each letter of the alphabet individually. Start with uppercase letters, then move on to lowercase. Carefully observe the proportions, curves, and angles of each letter to ensure precision and balance.
Aim for consistency in size, shape, and spacing as you write out each letter repeatedly.
Word Composition:
Once you feel comfortable with individual letters, progress to forming words and short phrases. Experiment with different letter combinations and word layouts. Focus on maintaining consistent spacing between letters and words to ensure readability. This stage is an excellent opportunity to refine your letter connections and overall composition.
Sentence Structure:
Advance to writing complete sentences to further develop your lettering skills. Choose meaningful quotes, phrases, or passages to practice. Pay attention to letter spacing, line alignment, and overall balance within the sentence.
Practice writing sentences of varying lengths and complexities to challenge yourself and improve your flow.
Practice Exercises:
Here are some exercises to help you practice letter forms effectively:
- Letter Repetition: Write out each letter of the alphabet multiple times, focusing on consistency and precision.
- Word Play: Experiment with writing words of different lengths and styles, paying attention to letter connections and spacing.
- Sentence Practice: Choose a quote or phrase and write it out in your chosen lettering style, focusing on maintaining consistency and readability.
Practicing letter forms is an essential step in mastering hand lettering. Dedicate time each day to practice, and don’t be afraid to experiment with different styles and techniques. With consistent effort and dedication, you’ll continue to improve and develop your own unique lettering style.
In the next chapter, we’ll explore techniques for adding embellishments and flourishes to your lettering designs.
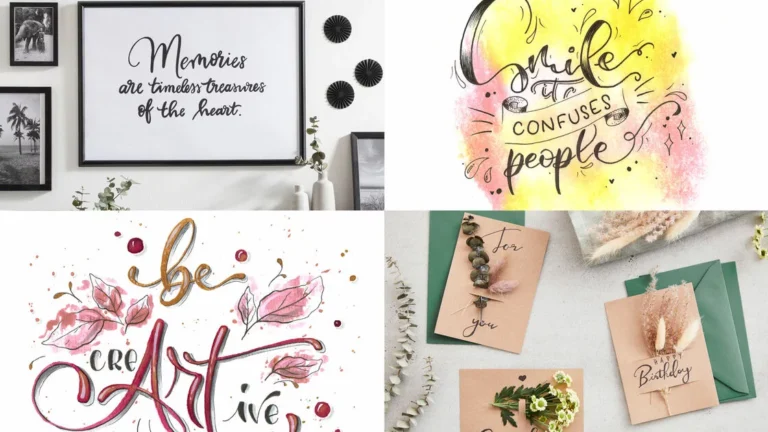
4: Adding Flourishes and Embellishments
Adding decorative elements to your lettering designs can enhance visual interest and elevate the overall aesthetic appeal.
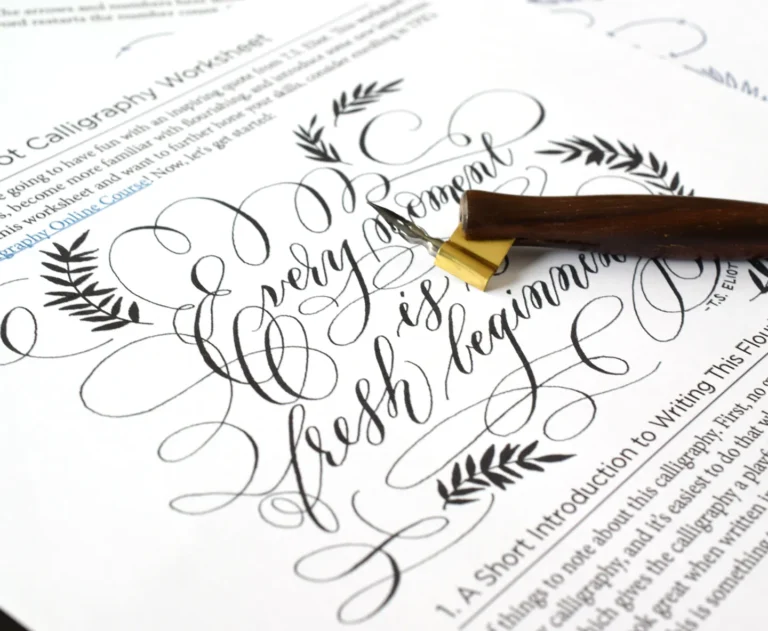
Understanding Flourishes:
Flourishes are decorative elements such as swirls, curls, and loops that can be added to your lettering to add flair and elegance. Experiment with different styles and sizes of flourishes to find what complements your lettering style best. Practice incorporating flourishes around letters and words, paying attention to balance and symmetry.
Embellishment Techniques:
Beyond flourishes, there are various embellishment techniques you can use to enhance your lettering designs. Some popular techniques include:
- Drop Shadows: Add depth to your lettering by incorporating drop shadows. Try out various shadow angles and intensities to create the perfect effect.
- Highlights: Use white gel pens or paint markers to add highlights to your lettering. This can help create dimension and make your designs pop.
- Borders and Frames: Frame your lettering designs with decorative borders or frames to give them a polished and finished look. Experiment with different border styles, such as geometric patterns or floral motifs, to find what suits your design.
Practice Exercises:
Here are some exercises to help you practice adding flourishes and embellishments to your lettering designs:
- Flourish Practice: Create a sheet of practice strokes and experiment with different flourish styles and sizes.
- Embellishment Sampler: Create a sampler sheet showcasing various embellishment techniques, such as drop shadows, highlights, and borders.
- Design Challenges: Challenge yourself to incorporate flourishes and embellishments into specific lettering projects, such as greeting cards or signage.
Adding flourishes and embellishments is a fun and creative way to enhance your hand-lettering designs. Make it a habit to practice consistently and try out various techniques to find what suits you best. With time and dedication, you’ll develop your own unique style that truly shines.
In the next chapter, we’ll explore tips for success and how to continue improving your hand lettering skills.
5: Tips for Success
In this chapter, we’ll discuss valuable tips and strategies to help you succeed in your hand lettering journey. Whether you’re a beginner or looking to refine your skills, these tips will provide guidance and inspiration to elevate your lettering designs to the next level.
Patience and Persistence:
Mastering hand lettering is a skill that requires time and practice. Be patient, and don’t be afraid to make mistakes as you learn and improve.
Embrace the learning process and keep practicing regularly to see improvement over time.
Study and Inspiration:
- Take the time to study the work of other lettering artists and draw inspiration from their designs. Analyze their techniques, styles, and compositions to gain insight into what makes their work successful. Experiment with incorporating elements of their designs into your own work while adding your unique twist.
Practice Mindfully:
- Practice with intention and focus on specific aspects of your lettering that you want to improve. Whether it’s consistency, letter spacing, or flourishes, dedicate time to practice each skill individually. Set aside regular practice sessions and challenge yourself with new techniques and styles.
Learn from Mistakes:
Embrace mistakes as part of the learning journey. Rather than feeling discouraged, view them as valuable learning opportunities. Assess what went wrong, refine your technique, and keep trying. Every mistake moves you closer to mastering your craft.
Experiment and Explore:
- Hand lettering is a versatile art form with endless possibilities. Don’t be afraid to step out of your comfort zone and experiment with new styles, techniques, and materials. Explore different pens, papers, and embellishments to discover what works best for you. Allow yourself the freedom to play and explore creatively.
By incorporating these tips into your hand lettering practice, you’ll be well on your way to success. Remember to be patient, practice regularly, and stay open to learning and experimentation. With dedication and perseverance, you’ll continue to grow and evolve as a lettering artist.
In the next chapter, we’ll discuss the next steps you can take to further develop your skills and expand your creative horizons.
6: Next Steps
In this chapter, we’ll discuss the next steps you can take to continue honing your hand lettering skills and further your journey as a lettering artist.
Advanced Techniques:
- Now that you’ve mastered the basics, challenge yourself with advanced lettering techniques. Experiment with lettering on different surfaces such as chalkboards, wood, or digital platforms. Explore advanced flourishes, shading techniques, and lettering effects to add depth and complexity to your designs.
Custom Compositions:
- Expand your creativity by creating custom lettering compositions for specific projects. Whether it’s designing wedding invitations, signage, or logos, tailor your lettering to suit the context and requirements of the project. Consider factors such as layout, color scheme, and overall visual theme to create cohesive and impactful designs.
Digitizing Your Designs:
- Take your lettering to the digital realm by learning how to digitize your designs. Invest in graphic design software such as Adobe Illustrator or Procreate to convert your hand-drawn lettering into scalable vector graphics or digital illustrations. Experiment with digital brushes, textures, and effects to enhance your designs further.
Sharing Your Work:
- Share your hand-lettering creations with others to gain feedback, inspiration, and recognition. Join online communities and social media platforms dedicated to hand lettering to connect with fellow artists, participate in challenges, and showcase your work. Don’t be afraid to share your progress and be open to constructive criticism – it’s all part of the learning and growth process.
As you continue your hand lettering journey, remember to stay curious, open-minded, and passionate about your craft. Keep challenging yourself to learn new techniques, explore different styles, and push the boundaries of your creativity. Most importantly, enjoy the process and have fun expressing yourself through the art of hand lettering.
Frequently Asked Questions: Hand Lettering
What materials do I need to get started with hand lettering?
Do I need to have good handwriting to excel at hand lettering?
How can I improve my lettering consistency?
Where can I find inspiration for my hand lettering projects?
How can I digitize my hand-lettering designs?
Conclusion: Hand Lettering
Embarking on the journey of hand lettering is both rewarding and fulfilling. With dedication, practice, and the guidance provided in this ultimate guide, beginners can unlock their creative potential and develop their own unique lettering style.
Remember, perfection is not the goal – rather, it’s the journey of exploration and self-expression that makes hand lettering such a fulfilling pursuit. So grab your pens, download the free worksheets, and let your creativity flow as you dive into the world of hand lettering!